


For many C&V enthusiasts seeking modern upgrades, the dual-pivot Tektro R556 - with its 55-73mm brake reach - has long been the ideal brake caliper for retrofitting older road and touring bikes originally spec'ed with long-reach centerpulls, such as Weinmann 999's or Mafac Racers.
However, Tektro has been insistent on producing the R556 only for recessed allen key mounting - with exception to small runs of nutted calipers made for Velo-Orange - hence, the great majority of these calipers are of the former, useless to the very framesets that often benefit from this upgrade. Personally, I refuse to drill the fork of a C&V frame; that constitutes "drewing" (see definitions #1 and #2). in my book. Luckily, a non-destructive solution exists in Tektro's slightly less refined 800A brakeset; an inexpensive dual-pivot design intended for the Japanese market, but available online with varying regularity.
The 800A's are made for nutted mounting, and feature the all-important, extra-long, proprietary Tektro mounting bolt required for the front brake. If you are lucky enough to find an 800A set, you can perform this conversion (as a bonus, you'll have enough parts left over to convert your donor 800A brakes to recessed mounting). This conversion should also work for the R538 set. Additionally, the elusive Japan-market-only 900A also sports the nutted bolt necessary for the conversion, along with certain variants of the R536.
Unlike a traditional sidepull, the Tektro sidepulls are a bit more involved to disassemble. The instructions below should provide all the information necessary to properly disassemble and reassemble one of these brakesets. Since the recessed front brakes can be used as nutted rears, you only need to swap the bolt on the rear R556 caliper, and flip the brake pads from their stock positions.
That said, proceed at your own risk. By performing the following modification, you agree to hold The Headbadge harmless for any consequences you might encounter as a result, and you may void Tektro warranty.
PLEASE NOTE: Tektro presently refuses to supply the longer 800A bolt separately to consumers. Considering the fact that most bikes that benefit from the R556 are classic, steel machines made for nutted mounting, this refusal to provide this part to consumers is unreasonable, and makes this conversion unnecessary difficult; especially as the import of 800A's has been spotty since late 2009. Please email Tektro - via this link - and request that the nutted front mounting post for the 800A be made available to worldwide distributors.
|
|
|
|---|---|
|
Disassembly:
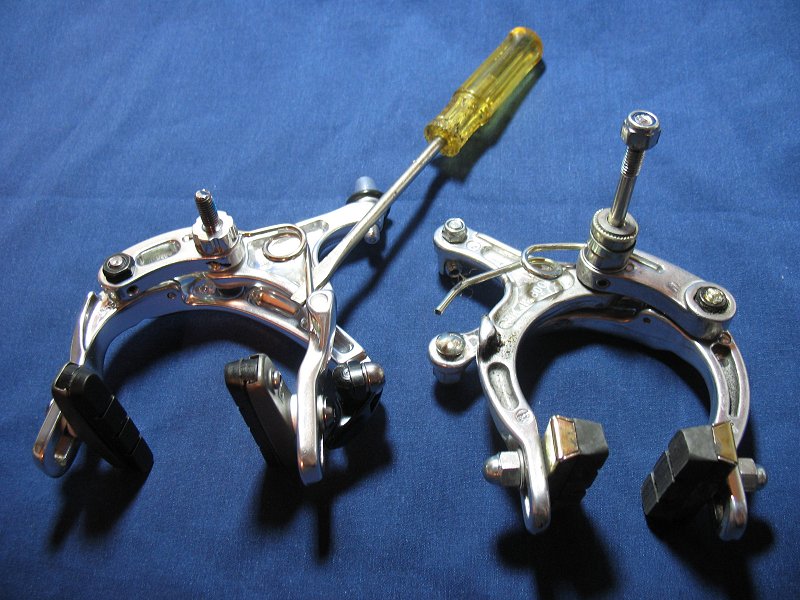
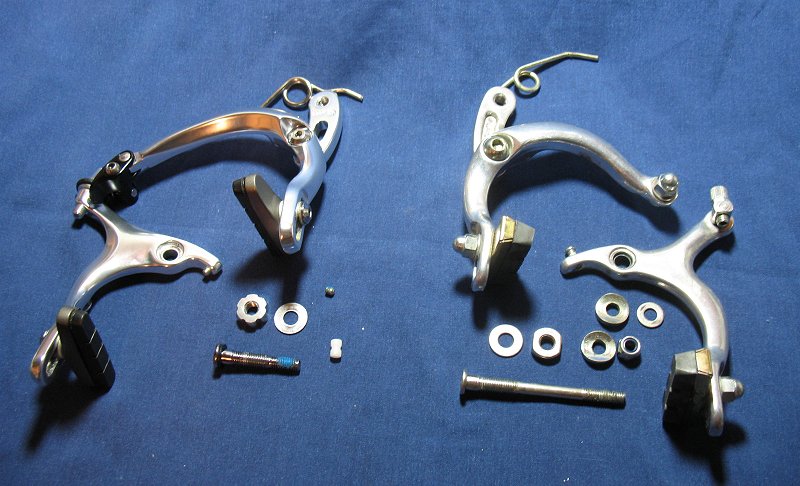
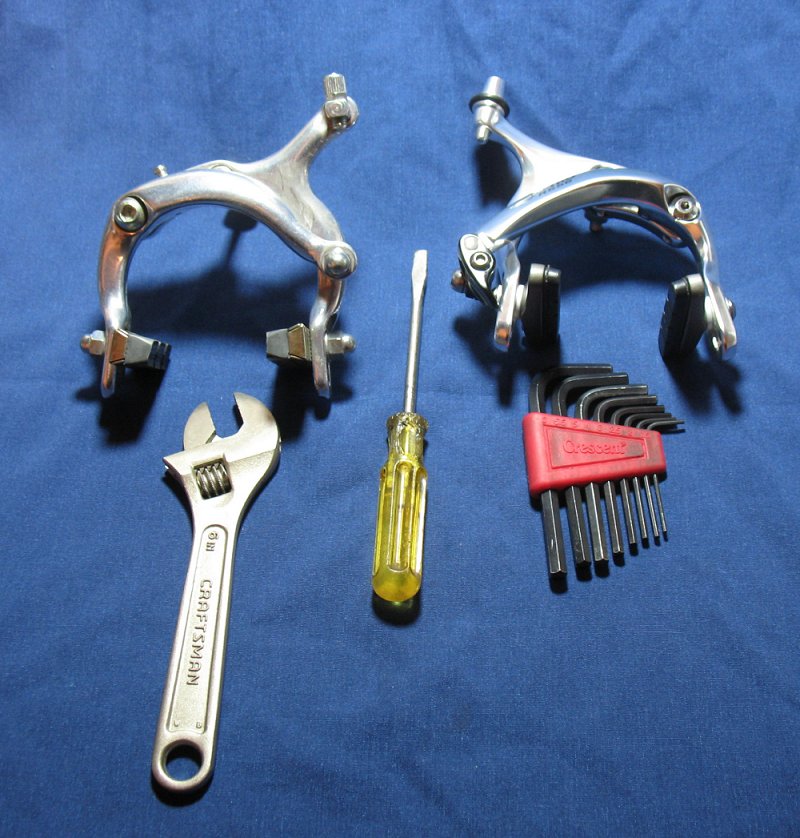
For this job, you will need an adjustable wrench, a small, narrow screwdriver, and an assortment of metric allen keys down to 1.5mm. The 800A is shown to the left, and the R556 to the right. Note the better finish and quick release lever of the R556. |
|
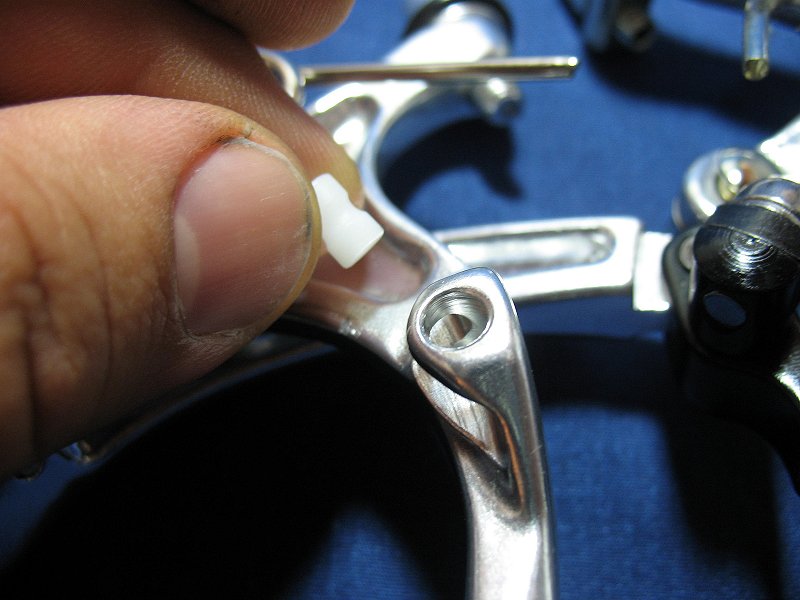
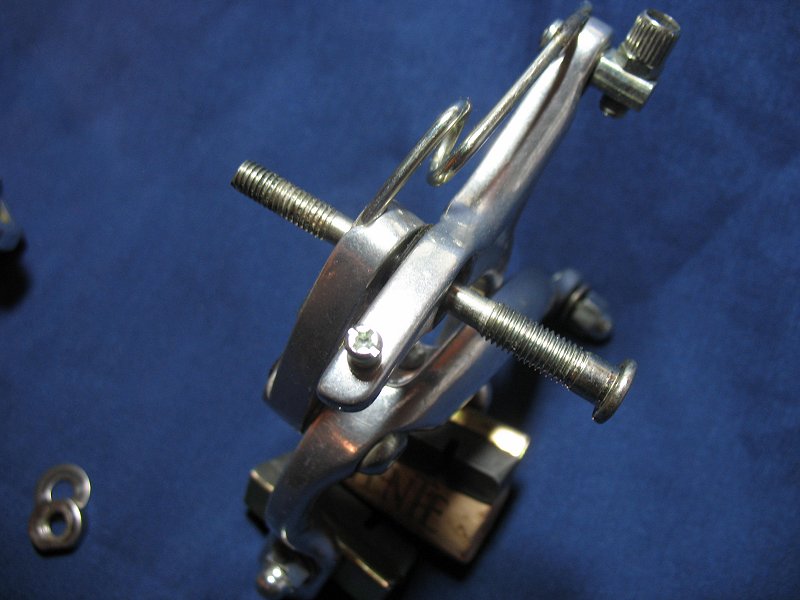
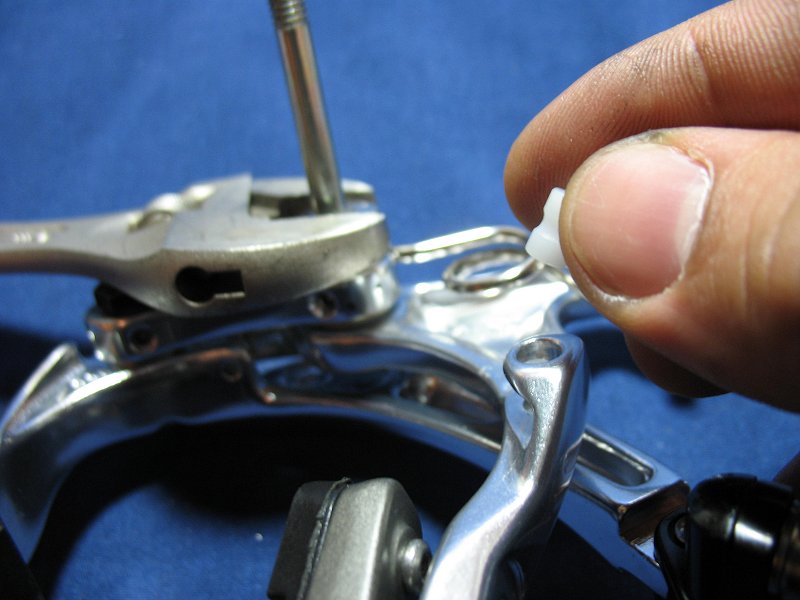
| Begin by releasing the spring at the back of each brake with a screwdriver - or if you prefer, pliers. Be very careful that you do not lose the plastic bushing fitted to the R556's brake arm, used to smooth out the spring action. This bushing is held in by the spring, and the spring only - it will fall out the moment the spring is pulled off the arm. |
|
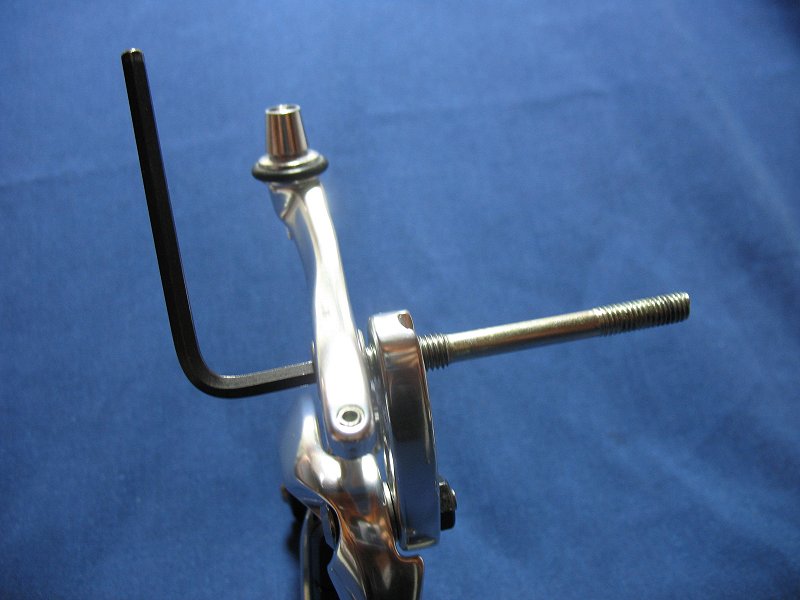
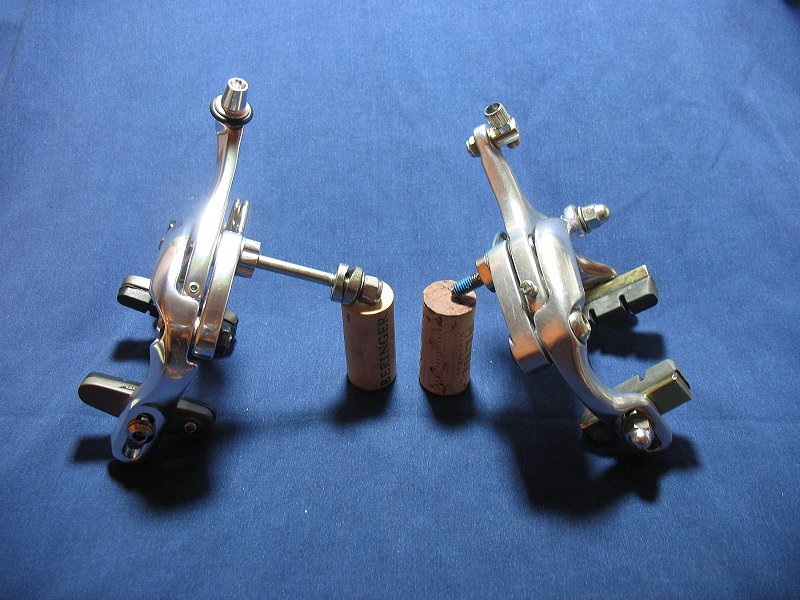
| With the springs loose, push the inboard arm against the outboard arm. The inboard arm will rise so you may access the bolt head of the mounting posts. |
|
|
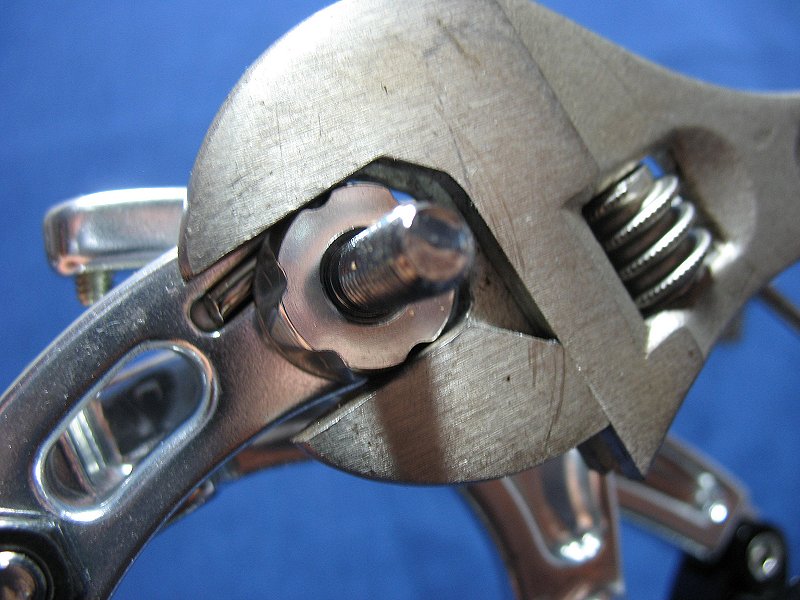
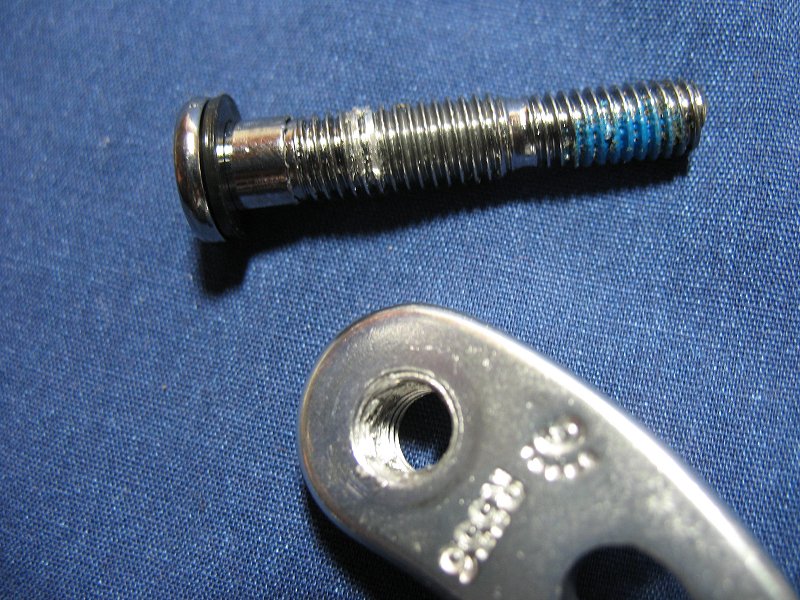
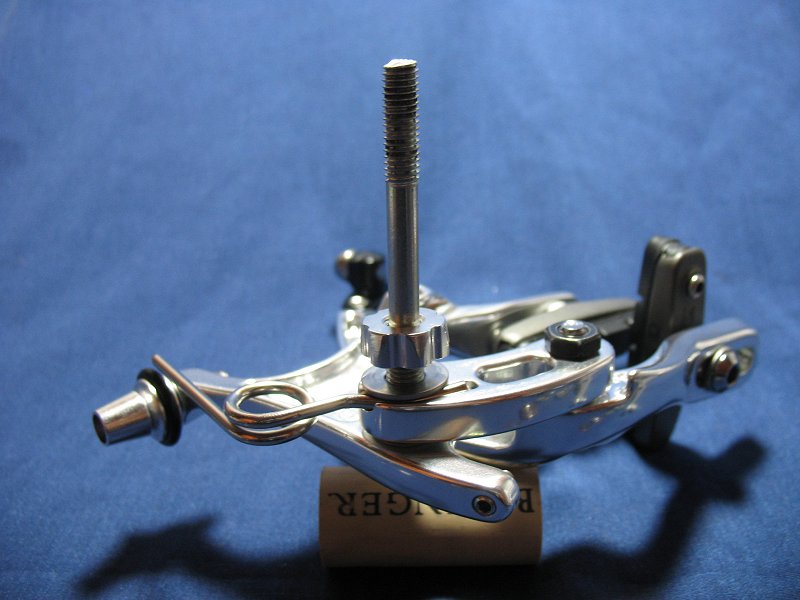
There is a nut at the back of the brake that must be loosened and removed, followed by a washer that keeps the return spring in place. The post will not come out yet, for it is threaded through the bridge that connects the two caliper arms. DO NOT LOOSEN THE MOUNTING BOLT YET.
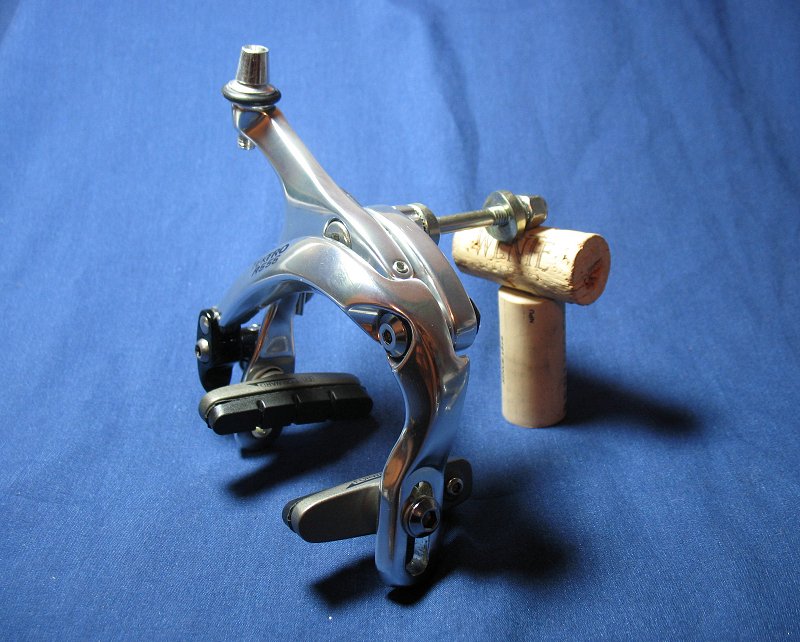
Note that the R556 has a fancy, tapered bolt with multiple grooves. Don't let this fool you, it is a standard six-point bolt. |
|
|
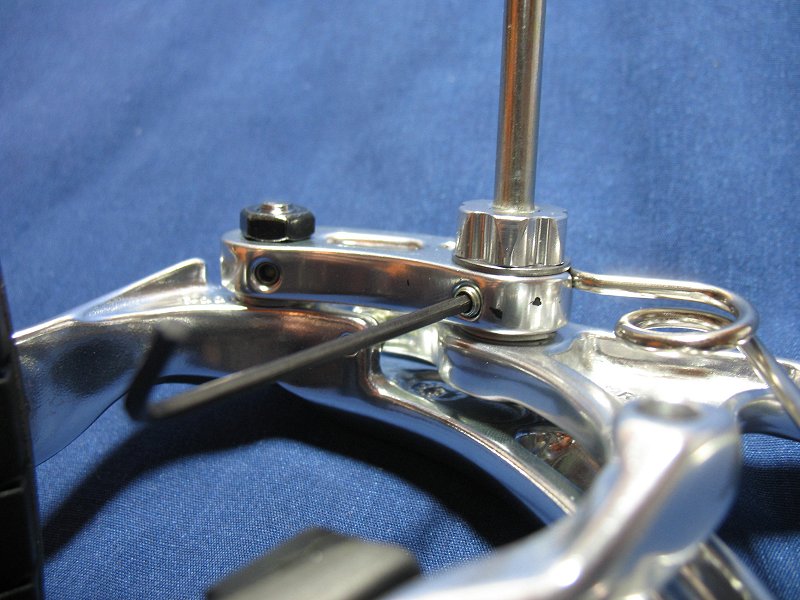
Before removing the mounting post, you must loosen the set screw below the post. The 800A uses a 2.5mm key; the R556, 2mm.
Beware - the bolt on the brand-new R556 that I used for this demonstration had been overtightned from factory to the point that it severely damaged the threads on the bolt, which subsequently damaged the threads on the bridge during removal. Luckily, damage was not to the point of being unusuable, but it remains unacceptable crafstmanship on Tektro's part. Once you have loosened the set screw, unscrew the mounting post through the front of the caliper with a 4mm allen key. The R556 will have a plastic washer accompanying it. The 800A will not. |
|
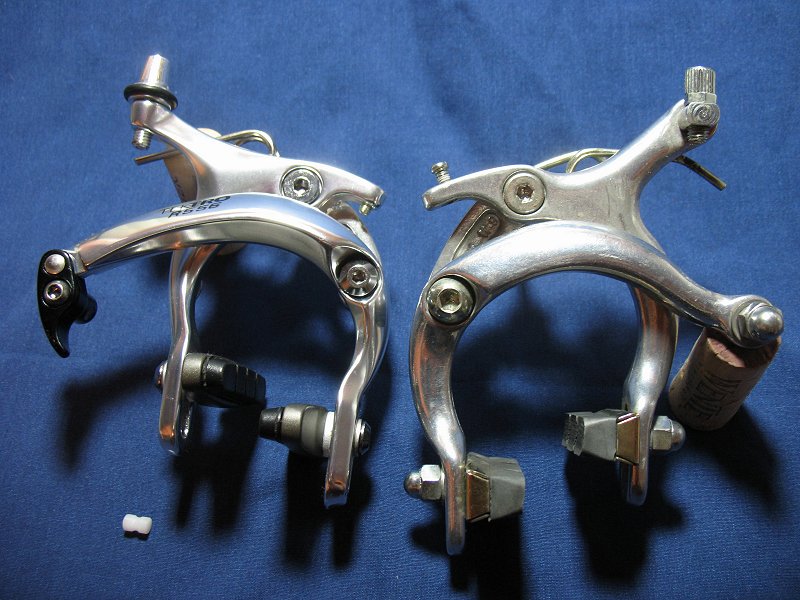
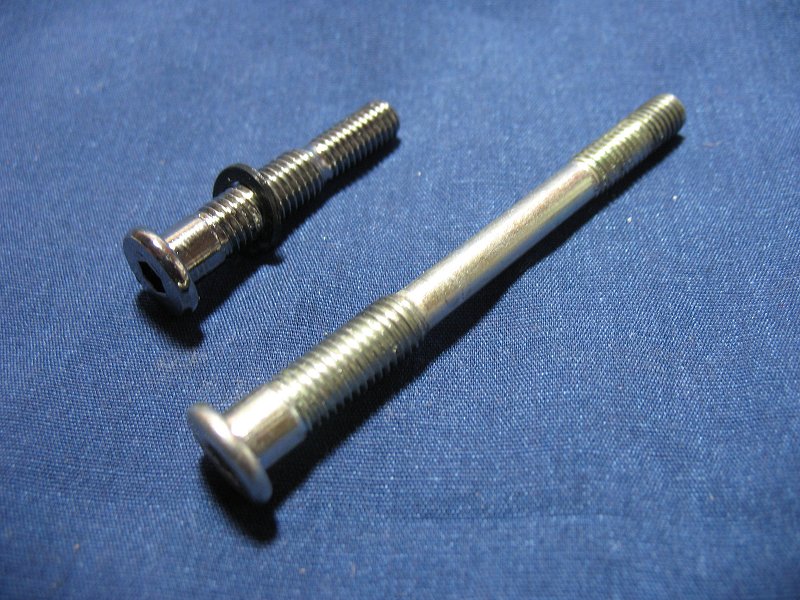
| You should now have the following components from the R556 and 800A brakesets, respectively. |
|
|
Swapping the mounting post:
Remove the plastic washer from the R556's mounting post and place it on the 800A's post. Align the arm of the Tektro R556 with the rest of the caliper, and thread the 800A's post through both arm and bridge. Tighten lightly. |
|
| Fit the R556's washer and retaining nut to the back of the mounting post. Adjust the friction of the pivot with the 4mm allen key, loosen just slightly, then tighten the set screw, then the washer and nut. You might have to play around with the bolt and set screw until you find a good adjustment combining low friction with virtually zero play in the caliper. |
|
| Reinstall the plastic bushing in the R556, then fit the spring back into the groove. You will find that the R556's spring is noticably stiffer then that of the 800A, and may require the use of pliers to coax back into position. |
|
| That pretty much covers it. You might wish to re-build the 800A with the shorter post off the R556, which - if you have a pair of R556 calipers - will provide you with a set of calipers for recessed mounting. |
|